Hello everybody, it’s me, Dave, welcome to my recipe site. Today, I’m gonna show you how to make a distinctive dish, salt rising bread. One of my favorites. This time, I’m gonna make it a little bit tasty. This is gonna smell and look delicious.
Salt Rising Bread is one of the most well liked of current trending meals on earth. It’s simple, it’s fast, it tastes yummy. It is appreciated by millions every day. They’re nice and they look fantastic. Salt Rising Bread is something that I have loved my entire life.
Salt rising bread can be very unpredicatble. As one reviewer reported it never did rise. Salt-rising (or salt-risen) bread is a dense white bread that was widely made by early settlers in the Appalachian Mountains, leavened by naturally occurring Clostridium perfringens and other bacteria rather than by yeast.
To get started with this particular recipe, we have to first prepare a few ingredients. You can cook salt rising bread using 11 ingredients and 13 steps. Here is how you cook it.
The ingredients needed to make Salt Rising Bread:
- Take 3 large baking potatoes
- Prepare 3 tbsp NOT DEgerminated yellow cornmeal
- Make ready 1 tsp sugar
- Prepare 1 tsp salt
- Get 4 cup boiling water
- Prepare 2 cup warm milk
- Take 1 cup warm water
- Get 1/2 tsp baking soda
- Prepare 2 tsp salt
- Take 2 tbsp vegetable oil OR melted shortening
- Prepare 5 lb bag of bread flour
Salt-rising bread is a white bread made from wheat flour, starters, sugar, water, and salt. It has a dense texture and a slightly cheesy flavor due to the unique fermentation process with a starter made. It relies on a Fermented mixture of warm milk or water, flour, cornmeal, sugar and salt to give it rising power. Salt-rising bread has a very smooth texture with a tangy flavor and aroma.
Steps to make Salt Rising Bread:
- Wash and peel potatoes. Slice raw potatoes thinly into a large, non-reactive bowl (I use Tupperware; ceramic also works). Sprinkle with cornmeal, sugar and salt and pour on the boiling water. Cover the bowl loosely with plastic wrap and set aside.
- Fill a crockpot half full of water, heat that up on high, then turn it down to low. Invert the crockpot lid, set a dinner plate on top of that with a pot holder or 2, place your bowl of starter ingredients on top, and cover the whole thing with a couple of thick bath towels. The trick to a successful starter is keeping it at a constant temperature of 100-105-degrees.
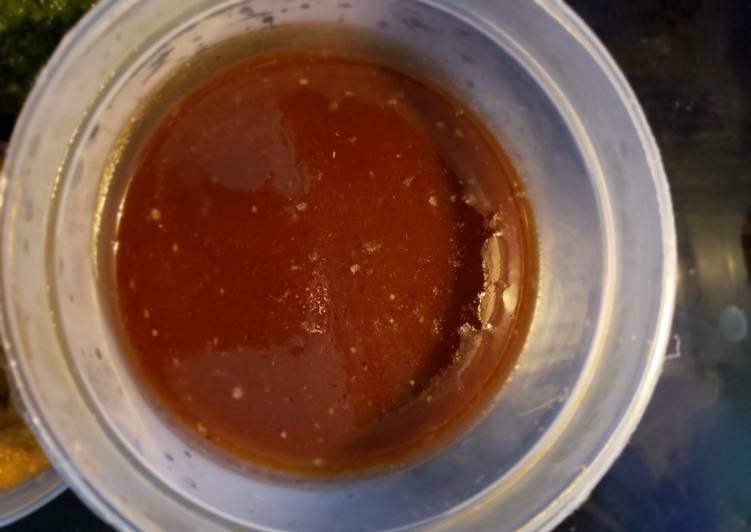
- After 12 to 15 hours your starter should be foamy (see photo) and have a strong, sour smell (kind of like stinky feet). If after 12 to 15 hours the starter isn't foamy and stinky, the starter has failed. Do not continue with the recipe. You must have the foam and the smell!
- Now in a separate bowl, mix together the warm milk, (even skim is fine), warm water, baking soda, salt and melted shortening or oil.
- Drain the potato mixture in a colander saving the starter liquid (discard the potato slices) and mix the starter liquid with the milk & water mixture. Stir in enough flour to make smooth dough.
- Knead until smooth and elastic as you would for yeast dough, about 8 to 10 minutes, adding more flour as needed to prevent stickiness.
- Divide the kneaded dough into 6 greased 1 pound small loaf (8 x 4) pans. Dough should fill pan 1/3 full.
- Lightly cover the bread pans with a floured tea towel or a sheet of plastic wrap that's been lightly sprayed with Pam. Let the breads rise in a consistent warm place until dough has almost doubled. (About 2 hours).
- With a fine-misting spray bottle, spritz the top of the dough with water. Bake in a 400°F oven for 30 minutes or until golden.
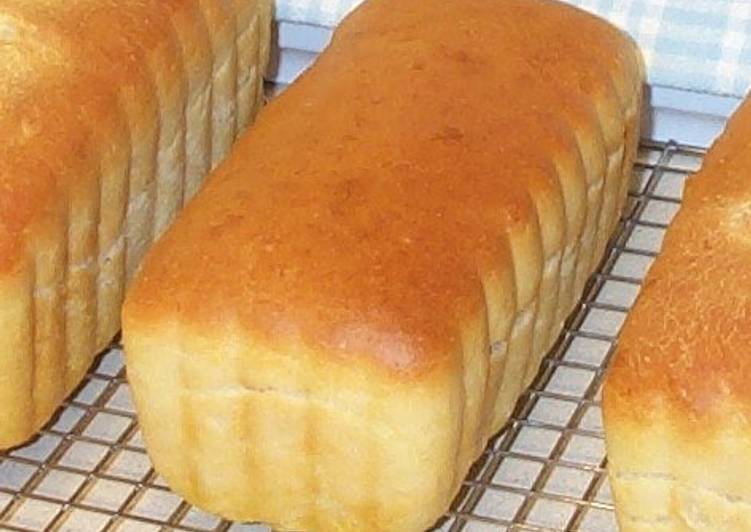
- Remove to racks to cool. Brush tops of loaves with melted butter.
- The characteristic strong odor you smell as the bread is baking will not overly manifest itself in the flavor of the bread. The bread has a nice grain and texture and pleasant taste and is MOST delicious when toasted! It also freezes very well.
- UPDATE 7/25/17: FINALLY found a bakery (in Pennsylvania) that sells authentic Salt Rising Bread. Somewhat pricey with shipping (but worth it), BUT they also sell a dried starter that makes it a bit easier to make your own. Also recently got a sous vide gadget and found it much easier to use than the crockpot to maintain the consistent temperature for a successful starter.
- UPDATE 5/11/2020: Recently ordered from the PA bakery mentioned in comment 12, and, sadly, it's no longer the authentic salt rising recipe. 😢
This old-fashioned method of making bread with a cornmeal starter is worth the effort! Start this loaf by setting the bowl of ingredients into a warm water bath in the afternoon if you want to have bread for dinner the following day. Traill suggested it takes about six. Salt-rising (or salt-risen) bread is a dense white bread that was widely made by early settlers in the Appalachian Mountains, leavened by naturally occurring Clostridium perfringens and other bacteria. Salt-rising bread is an old-fashioned artisan bread with a cheesy flavor and dense crumb. "Salt Rising Bread, is a dense, white bread that develops its delicious cheesy flavor from a unique.
So that is going to wrap it up with this special food salt rising bread recipe. Thank you very much for reading. I’m sure you will make this at home. There’s gonna be more interesting food at home recipes coming up. Remember to save this page in your browser, and share it to your family, colleague and friends. Thanks again for reading. Go on get cooking!